Running on the Frontend
WordPress Integration
Installing Begin AI WordPress Plugin To Your Instance
On your Admin Panel, navigate to
Plugins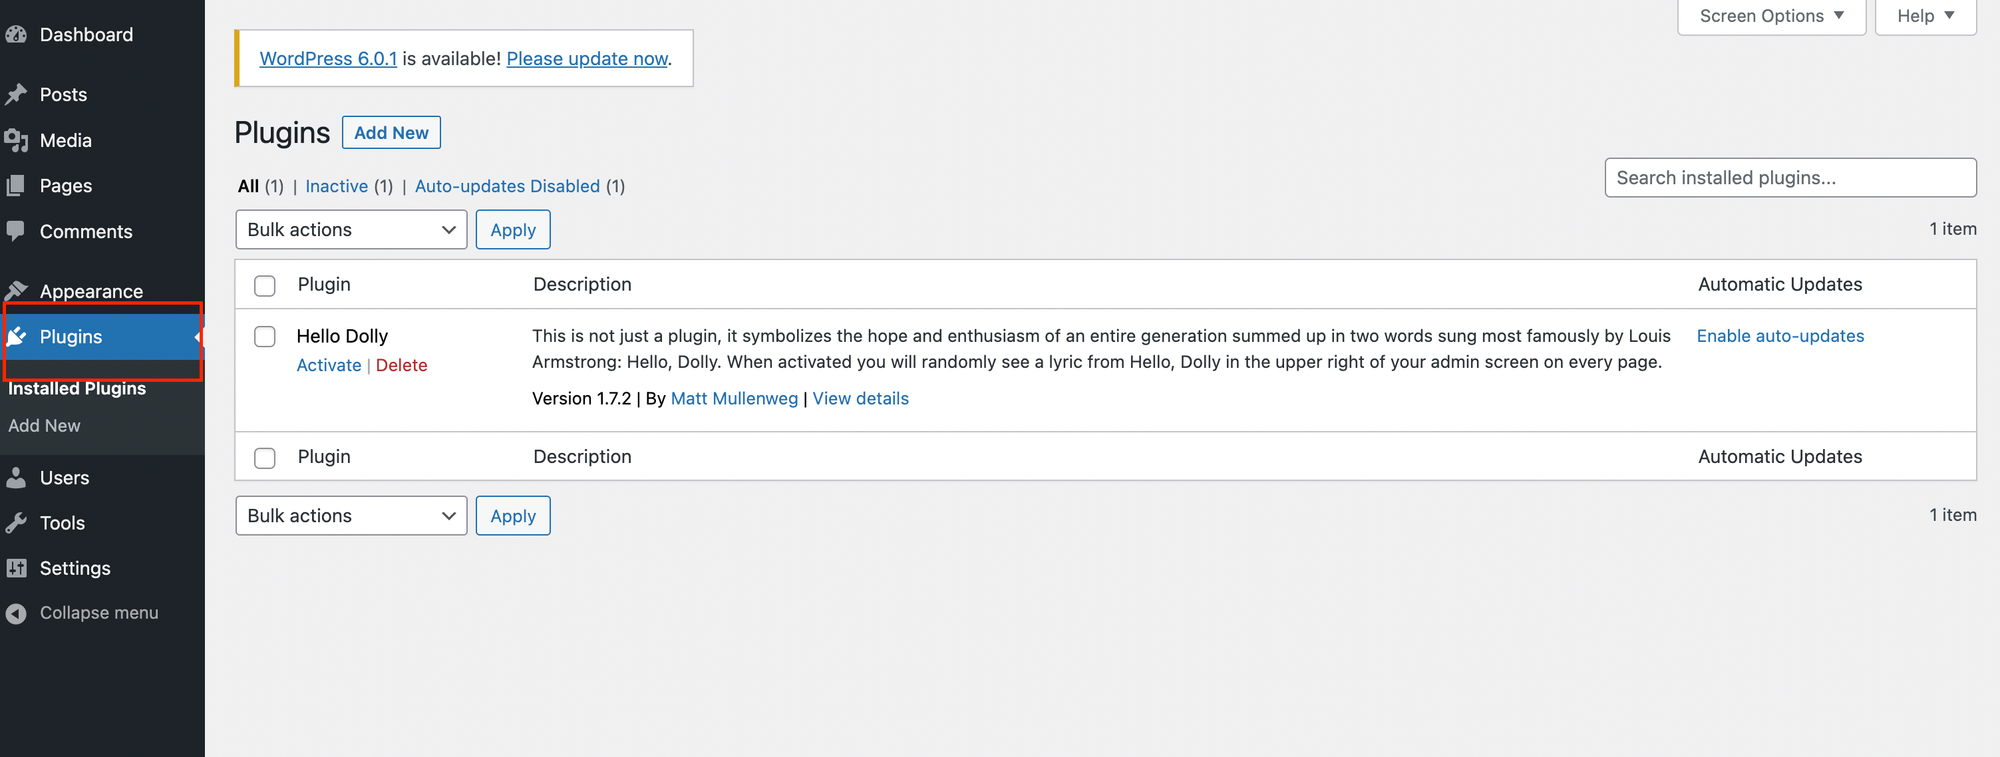
Click on the button
Add New, on the next page, using the search bar look for begin-ai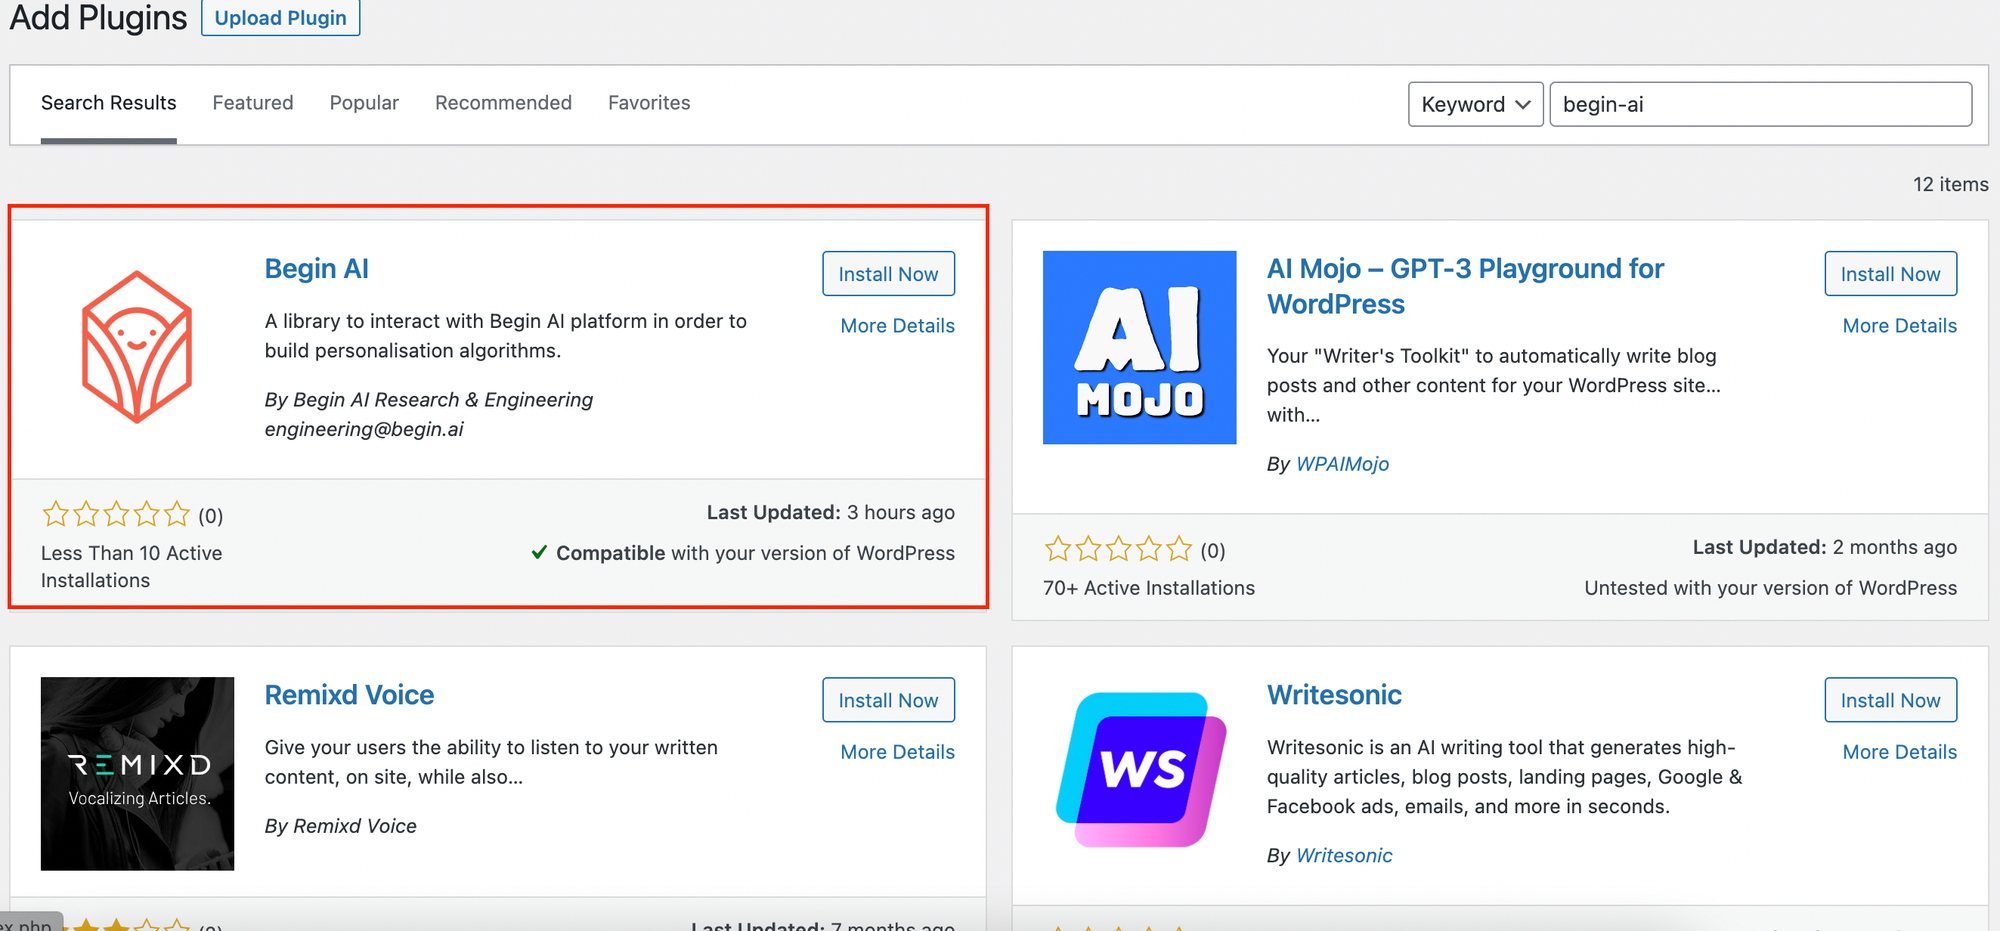
Select the option
Install Now to have the plugin installed on your instanceWe are almost done! Go back to the
Plugins page, and Activate the Begin AI plugin
You are good to go!
Add Your Account Credentials
Next, on the JavaScript file where you track your user actions (if none is available, add a new file and load it by adding a
<script> tag on your application footer) add your app_id and license_key that you can find under your settings menu in your account.const beginWorker = beginai.BeginWorker.instance(APP_ID, LICENSE_KEY)
Load Your Data
Now you’re good to load your users’ data for processing on your computer. Copy the code from the JavaScript, Frontend section on the Integration Code page to your SDK.
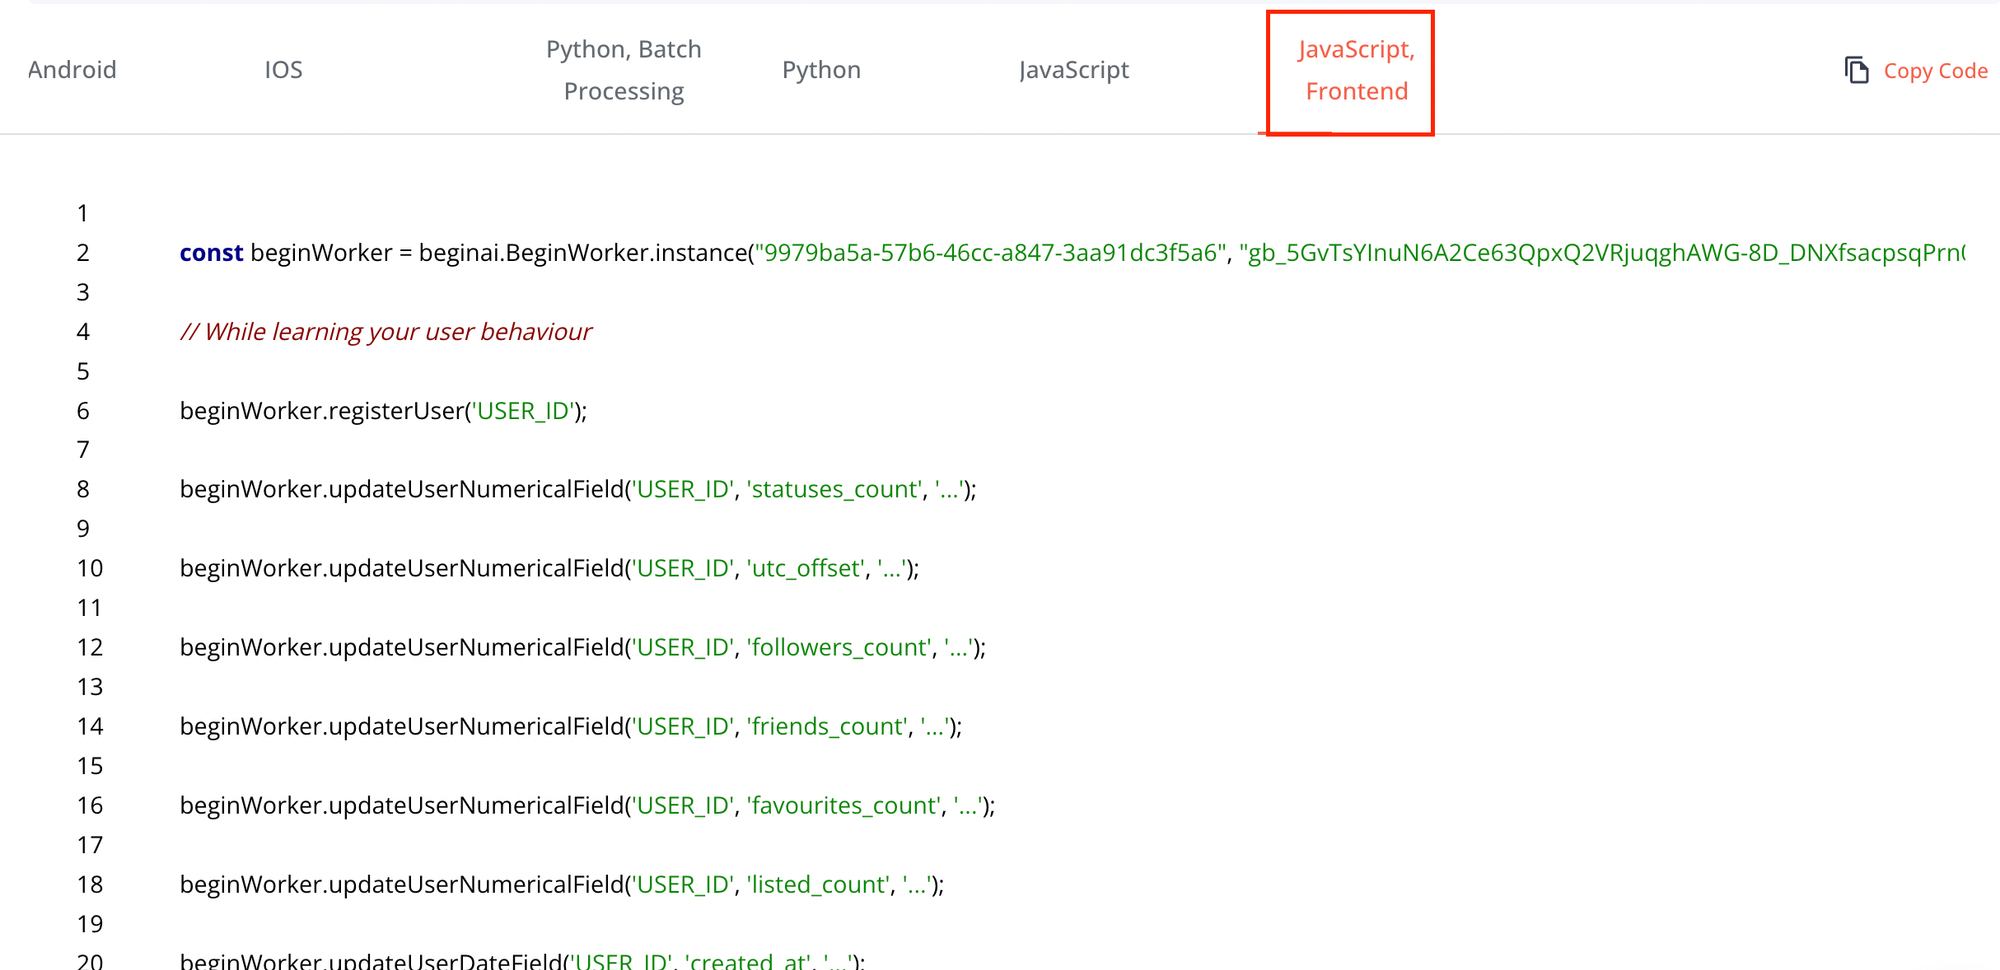
DON’T FORGET! All fields and interactions must be defined in the schema before they are used in the SDK.
For more information on what each field represents, refer to our field guide:
Integration Code Field Guide - JavaScriptStart Learning
Once you’ve loaded your data, the final step is to send the following call:
beginWorker.learnFromData();
When you write learn from data, anonymized and secure signatures are generated and sent to Begin platform to initiate the machine learning process.
RUNNING ON MULTIPLE PLATFORMS? You can process users from any SDK simultaneously. Once you make the above call, the system will merge the learnings across all platforms automatically.